Answer fields students can type in
Add true AcroForm text fields under each question so students can complete the worksheet on a laptop and send it back — no printing required.
Assignment PDF Creator
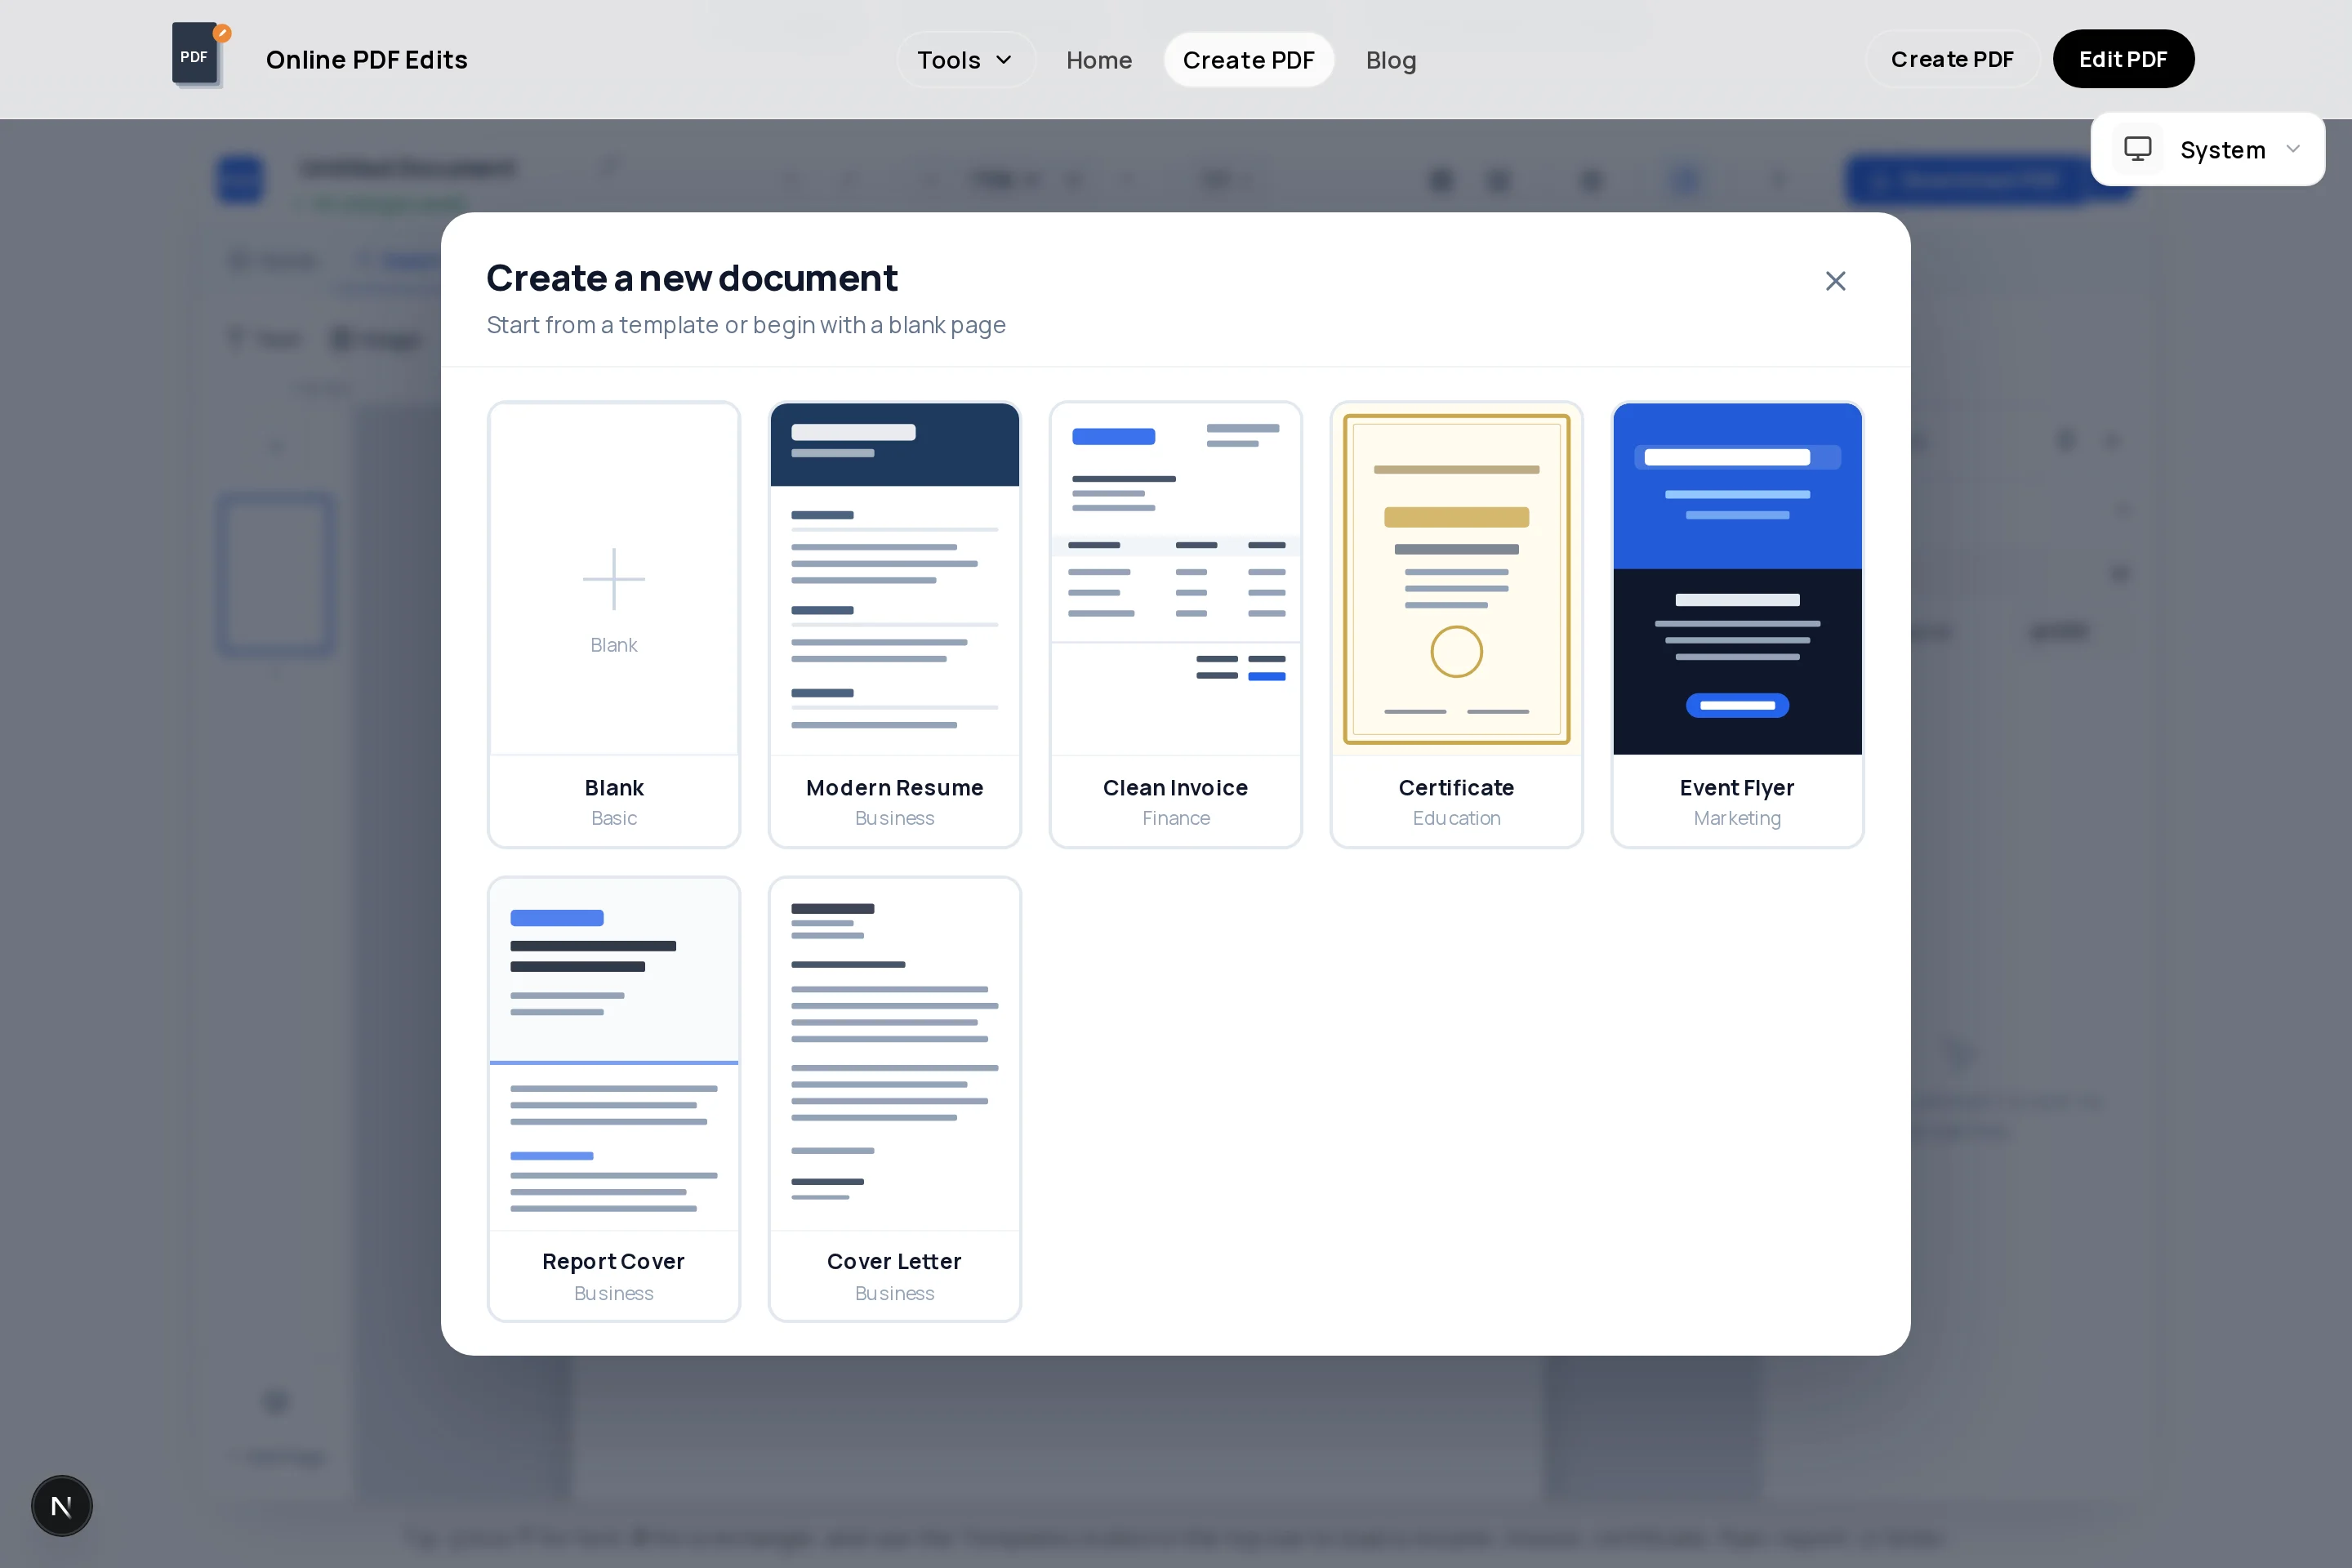
To create an assignment PDF, start with a blank canvas in the browser-based PDF Creator, add a header block for name, class, and date, then lay out your questions with answer space beneath each one. There is nothing to register for, and every worksheet you export is yours to reuse and photocopy.
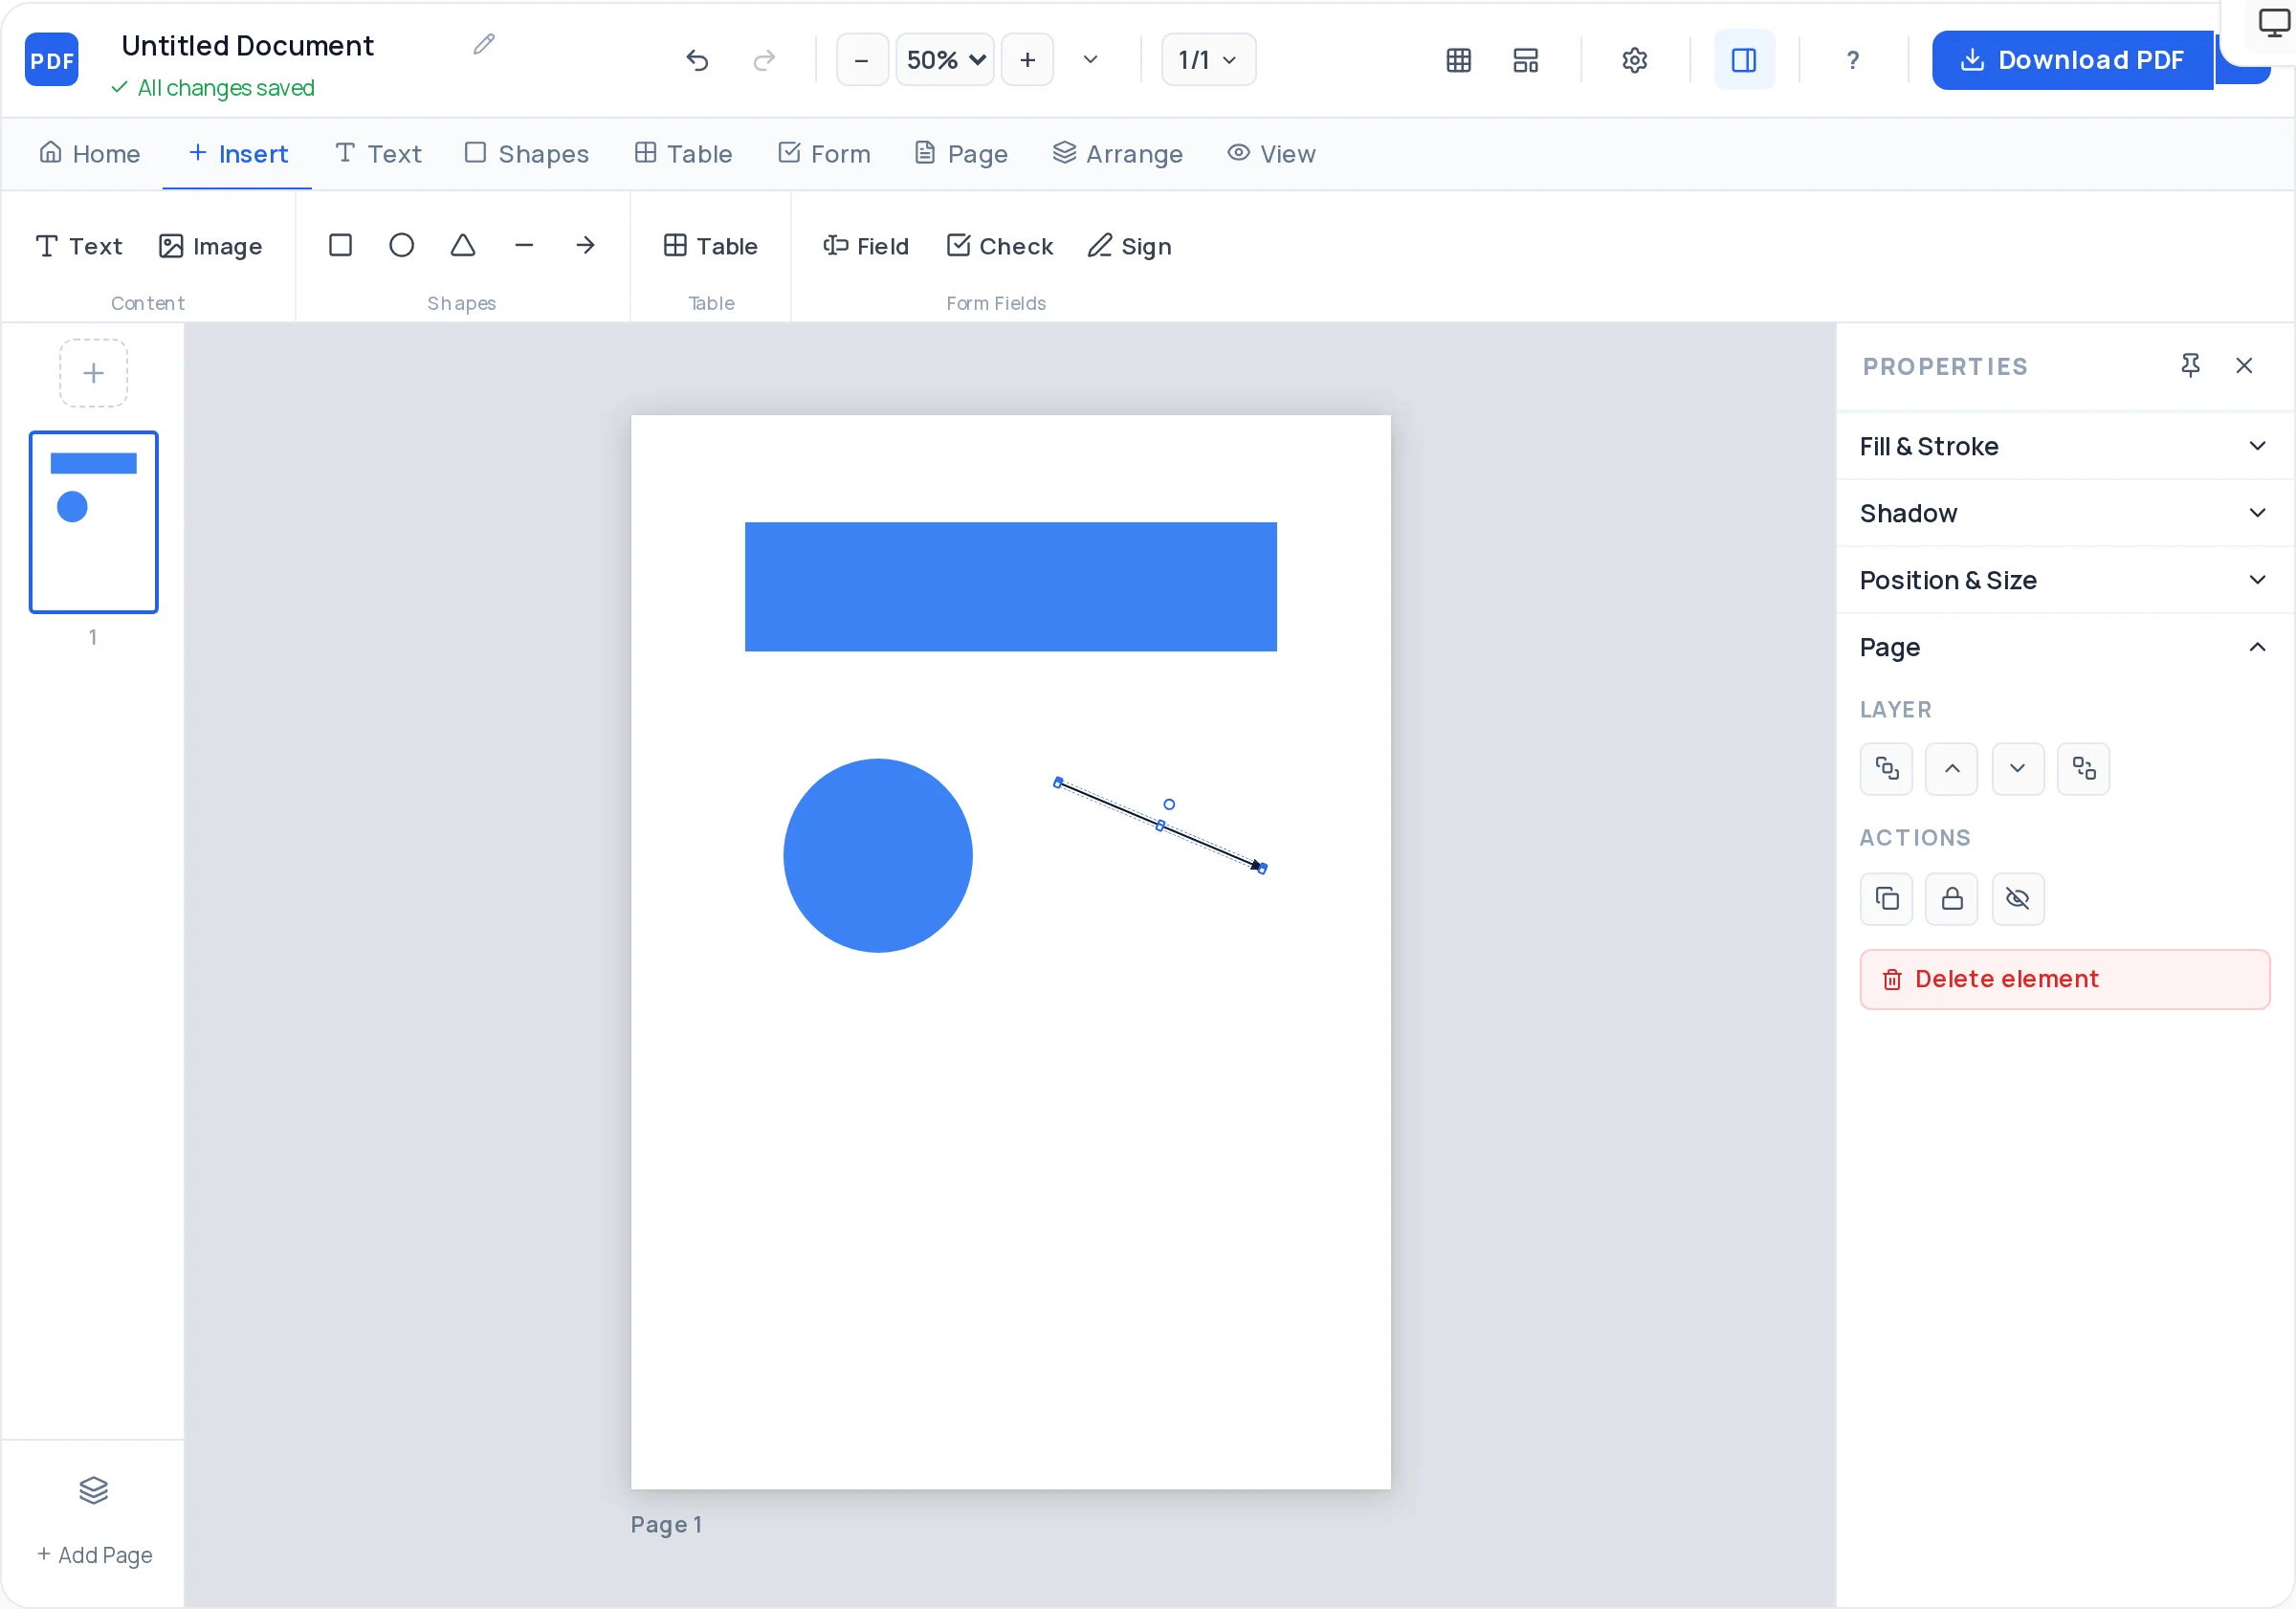
What separates a worksheet from a wall of text is structure. Number each question as its own text block so you can nudge spacing with arrow keys, insert diagrams or maps as images beside the questions they belong to, and use checkboxes for multiple-choice options. If students will submit digitally, drop real fillable text fields under each question — they can type answers straight into the PDF.
Snap-to-grid and alignment guides keep twenty questions across three pages perfectly consistent, which is exactly the kind of tidiness students (and heads of department) notice.
Add true AcroForm text fields under each question so students can complete the worksheet on a laptop and send it back — no printing required.
Real checkbox fields next to options A–D make objective questions tickable in any PDF reader, or on paper after printing.
Each question is its own text block with independent size, spacing, and bold labels — so renumbering or reordering never breaks the page.
Upload maps, graphs, or labelled diagrams as JPG/PNG and place them exactly where the question refers to them.
Build marking rubrics, matching exercises, or fill-in-the-blank grids with styled tables — header row, borders, and cell shading included.
Snap-to-grid and smart guides keep question numbers, answer lines, and margins identical from page 1 to page 5.
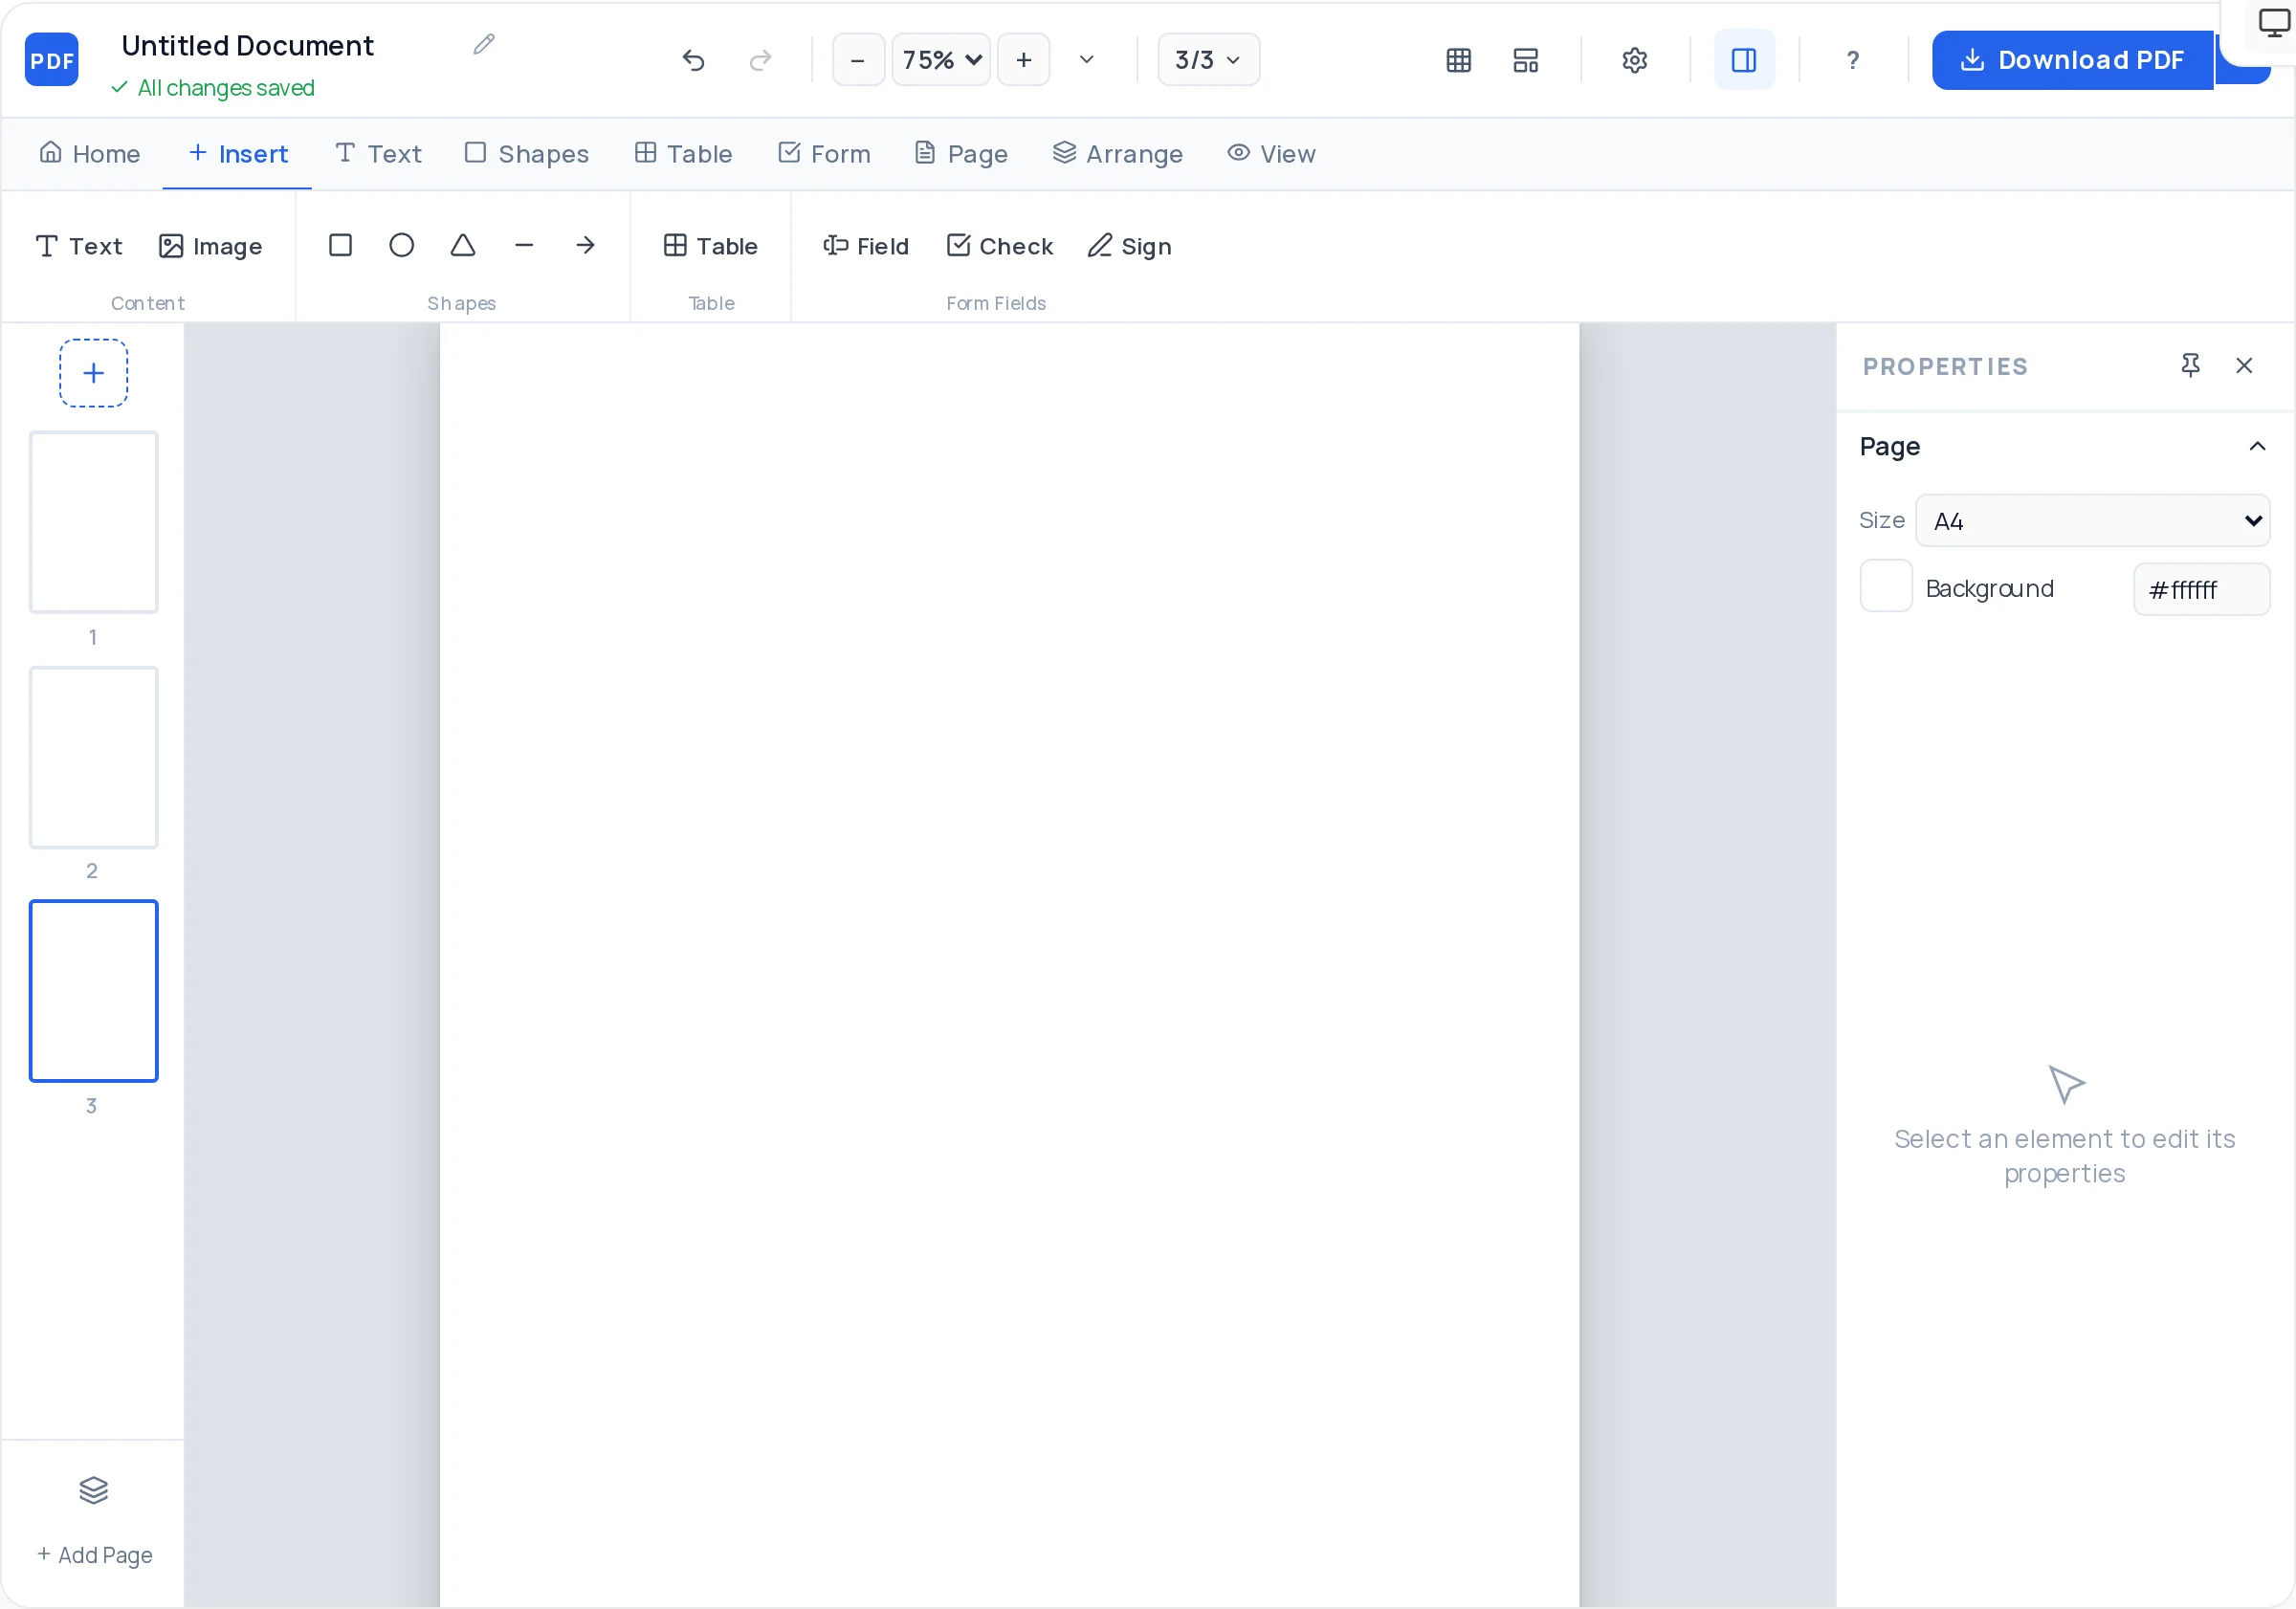
Start the PDF Creator on a blank A4 or US Letter page — the standard sizes for classroom handouts.
Across the top, place Name, Class, and Date labels with a line shape after each, plus the assignment title and subject.
One sentence in bold or italic telling students what to do, how many questions to answer, and the due date.
Add each question as a separate text block, and leave answer space below it — blank lines for handwriting or a fillable text field for typed answers.
Add diagrams, source images, or a data table next to the questions that use them, and add pages as the assignment grows.
Download the PDF, then print it, post it to your LMS, or email it — students with the fillable version can type answers directly.
Two ruled lines signal "a sentence or two"; half a page signals a paragraph. Students calibrate their answers to the space you give them, so use it deliberately.
A small "(3 marks)" after each question tells students how much detail to give and how to budget their time — and makes your marking scheme transparent.
Group recall questions, application questions, and extended writing into labelled sections. It makes differentiation easy: early finishers move on, strugglers consolidate.
Avoid large dark fills and low-contrast grays — they band and smear on copiers. Black text, white background, and line-art diagrams reproduce best on the hundredth copy.
A one-line checklist at the bottom — "Name written? All questions attempted? Answers underlined?" — cuts the number of half-finished submissions noticeably.
Yes — if you add fillable text fields under your questions, the exported PDF is a real AcroForm. Students open it in Adobe Reader or any modern browser, type their answers, and save or print the completed sheet.
No signup is needed. Open the creator, build the assignment, and download it — nothing is locked behind registration.
Write the question, list the options, and place a checkbox field beside each one. On paper students tick the box; digitally they click it. Keep option rows aligned with snap-to-grid so columns stay straight.
Yes — upload JPG or PNG images and place them anywhere: a labelled diagram above a question, a source photograph for analysis, or a graph students must interpret. You can resize, round corners, and set opacity.
Export each worksheet, then use /merge-pdf to combine them into a single homework packet. You can also add pages inside the creator itself if you are building the whole packet in one session.
Photograph or scan it and use /images-to-pdf to convert the pictures into a PDF. To rebuild it as an editable, fillable worksheet, recreate the layout in the creator — usually faster than it sounds with tables and duplicated text blocks.
Duplicate the page inside the creator before exporting and keep a "layout master" first page you never fill in. You can also reopen any exported worksheet at /edit-pdf and swap the questions.
All of these open the same free online PDF creator — each guide covers what makes that document work.
Create a Professional Exam Paper PDF
Turn Your Revision Into a Study Notes PDF
Create a checklist PDF you can actually tick off
Create a fillable PDF anyone can type into
Create a registration form PDF for your event, course, or club
No signup, no watermark, nothing to install — design your document and download a clean, print-ready PDF in minutes.
Make your assignment — free